Starting Template
Now that we have all the folders made and starting files generated, we can start working on a base template. This template is what we will use on every single future page, so that our entire site looks cohesive and well built.
Design
Before we can start code, we need to figure out what will be present in every single page on our website. For the purposes on this tutorial, here is what every page in our site will have:
- Navigation bar at the top
- Contents of the page
- Footer at the bottom with links
Coding the Template
- Open
template.htmlin your text editor (Sublime Text, Notepad++, etc) Copy this code:
<!DOCTYPE html>
<html>
<head>
<meta charset="utf-8">
<meta http-equiv="X-UA-Compatible" content="IE=edge">
<title>John Doe Personal Site</title>
<link href="https://maxcdn.bootstrapcdn.com/bootstrap/3.3.6/css/bootstrap.min.css" rel="stylesheet">
<link rel="stylesheet" href="css/portfolio.css">
</head>
<body>
<!-- This is where our page's content will go -->

<!-- Our Javascript Files -->
<script type="text/javascript" src="https://code.jquery.com/jquery-2.2.3.min.js"></script>
<script type="text/javascript" src="https://maxcdn.bootstrapcdn.com/bootstrap/3.3.6/js/bootstrap.min.js"></script>
<script type="text/javascript" src="js/portfolio.js"></script>
</body>
</html>
This is the absolute barebone version of our template. What we are doing here is loading the Bootstrap CSS and JS files as well as our own files from earlier.
- The next step is to make add the Navigation bar at the top of the page; this is where Boostrap starts to shine.
- Out of the box, Bootstrap comes with a Navigation bar pre configured, we just need to code it to our liking. First go here to read up on how the navigation bar works.
Next, write the following before where your content will go:
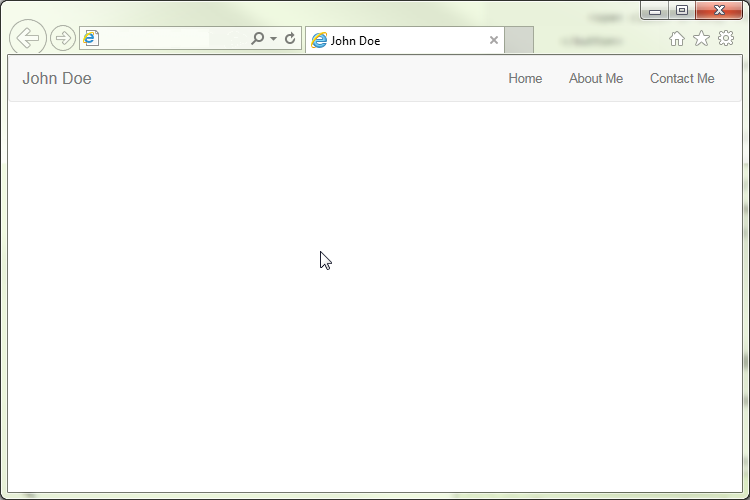
<nav class="navbar navbar-default">
 <div class="container-fluid">
     <div class="navbar-header">
         <button type="button" class="navbar-toggle collapsed" data-toggle="collapse" data-target="#bs-example-navbar-collapse-1" aria-expanded="false">
             <span class="sr-only">Toggle navigation</span><span class="icon-bar"></span><span class="icon-bar"></span><span class="icon-bar"></span>
         </button>
         <a class="navbar-brand" href="#">John Doe</a>
     </div>

     <div class="collapse navbar-collapse" id="bs-example-navbar-collapse-1">
         <ul class="nav navbar-nav navbar-right">
             <li><a href="index.html">Home</a></li>
             <li><a href="#">About Me</a></li>
             <li><a href="#">Contact Me</a></li>
         </ul>
     </div>
 </div>
</nav>
Here we are creating a new navigation bar with three links on the right and our website's name on the left.
- Our website should look like this when you try and open it in a web browser:
- Next we are going to add a placeholder for our content. This can be done by adding the following code after the navigation:
<div class="container">
 <!-- Page content will eventually go in here -->
</div>
- Finally, for the footer, we will put the following code inside the container
divwe added in the last step<footer class="footer"> <p class="text-muted">Copyright 2016, John Doe</p> </footer>
Our Website So far
